Are you suffering through the annoying squeaks that accompany every door movement? We’ve all experienced it – the annoying noise of squeaky doors that grate on our nerves and disturb everyone. And one of the troubles winter brings is exacerbating these noises all the more.
On top of it, it’s not rare for the noise to come with a door that’s sticky to open, adding an extra headache to our daily lives.
So how do you get rid of these squeaks and stickiness for good and enjoy a silent, smooth door? The answer usually lies in our handy solution, lubrication. In order to operate smoothly, doors require adequate and regular lubrication for their parts such as locks, and in this case, the hinges. In this article, we’ll go over how to lubricate the door hinges and fix a squeaking door the right way!
Why Do Doors Squeak?
Before we dive into unraveling how to lubricate house doors that creak, let’s first understand what exactly causes these irritable noises and stickiness in the first place.
Over time, the door hinges collect dirt, grime, and may even rust, Any such buildup causes friction, which results in these squeaky noises.
Inadequate lubrication is also a leading cause of this troublesome friction. Additionally, you may notice your door being particularly noisier in winter. This is because the materials of your doors contract during winter, which is another cause of friction.
Sometimes, the cause behind squeaking and sticky hinges may be deeper than the aforementioned causes. For example, it’s possible that the components are worn down and require replacement.
Step—by—Step Guide to Lubricating Squeaky Door Hinges
Step 1: Remove a Hinge Pin
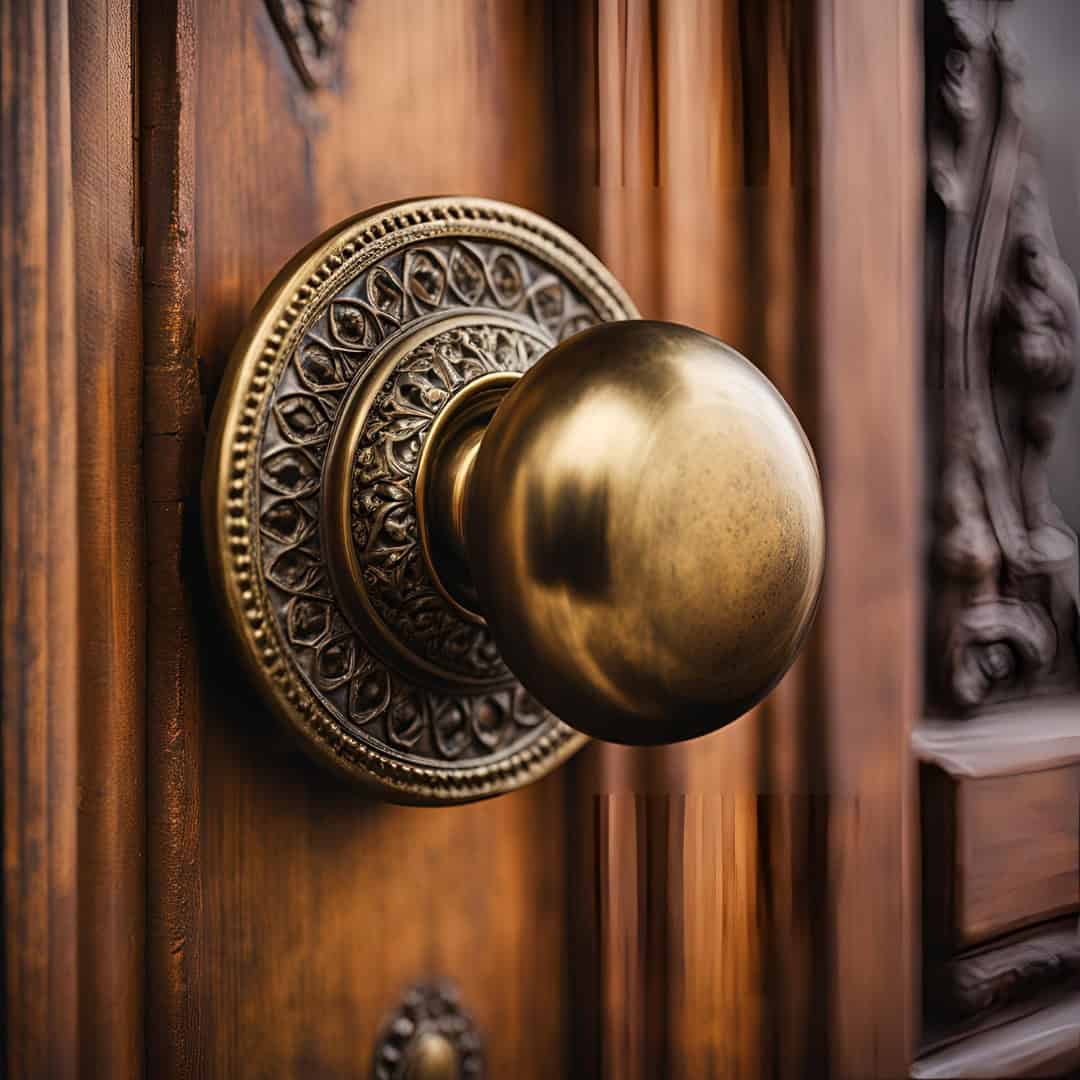
First off, you’ll need to remove the hinge pin so that you can lubricate it and the hinge. A door hinge consists of two plates, known as the door leaf and the frame leaf, attached to the door and door frame, respectively. Hinge pins connect these leaves and act as the door’s pivot point.
In order to remove the pin, you usually need a screwdriver and hammer. You need to place the nail at the bottom of the hinge pin, and then gently tap the hammer upwards. Alternatively, you may need to use pliers to rotate the hinge pin counterclockwise and take it off.
It’s recommended to work on one hinge at a time, so start with removing one hinge pin and lubricating that hinge first!
Step 2: Clean the Hinge
Before you get to lubricating your house door, you must clean all the dust, grime, and rust from the door hinge and pin first! Otherwise, applying lubrication would trap these elements, causing further issues. Once the hinge and pin are thoroughly cleaned, you can proceed to apply the lubricant of your choice. There are various lubrication techniques for door locks that can help ensure smooth operation and longevity. It’s important to choose a product that is suited for your specific type of door and climate conditions to enhance its effectiveness and prevent future buildup.
Use a small brush, paper towel, or rag to thoroughly clean off any dirt and debris. If it’s notably dirty, you may want to use a solution of water and mild cleaner and scrub the hinge thoroughly with it.
Once done, let the hinge and pin dry completely. You can use a cloth to wipe off the moisture. Alternatively, you can use a hairdryer if you want to dry it off fast.
Step 3: Lubricate the Hinge
With the hinge clean and dry, it’s time for lubrication! But first off, let’s decide on the right lubricant.
You might be thinking about using the trusty WD—40, but is it the right choice? WD—40 can attract grime into the hinges, so it’s generally not recommended for this use or any other oil—based lubricants.
Instead, there are varieties of lubricants for lubricating a door hinge, such as silicone spray, graphite lubricant, lithium grease, or white lithium grease. Then apply a moderate amount of lubricant for door hinges into both the hinge leaves and their hinge pins.
Step 4: Place Back the Hinge Pin
Make sure to wipe away any excess lubricant with a rag. Once done, add back the hinge pin. You can tap the hinge pin back in the hinge using the nail and hammer similar to how you removed it.
Step 5: Repeat the Steps and Test the Door
Repeat the steps with the other hinge. When you’re finished, open and close the door several times to test the door. If you’re still greeted by the stubbornness of the squeaky door, you may need to repeat the steps a couple more times.

What to Do If Door Still Creaks After Lubricant Application
If your door is still squeaking even after lubrication, then chances are that there’s a deeper underlying issue. For example, it’s possible that the hinges have been worn down or rusted beyond repair, and you may need to remove the hinge and replace it. In either case, it’s best to seek help from a professional door repair expert to resolve the issue.
Struggling With A Noisy And Sticky Door? We Got You Covered!
With a simple process of cleaning and lubricating the door hinges, you can bid farewell to those sticky and creaky doors.
However, if lubricating your house doors isn’t fixing the squeaky hinges, don’t hesitate to reach out to us for professional help. We have the extensive expertise and effective solutions to ensure your doors function smoothly and quietly.
Let us take care of those squeaky door hinges so that you can close and open the doors comfortably!